


1035 Miller Electric Welding Supplies Starting at $4.75


 Miller Welders
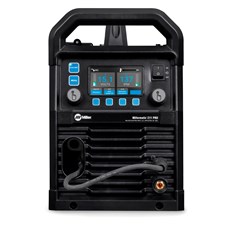
Millermatic 211 PRO MIG Welder – 120/240V, 15-ft Gun #907839
43 purchased
Miller Welders
Millermatic 211 PRO MIG Welder – 120/240V, 15-ft Gun #907839
43 purchased
 Miller Welders
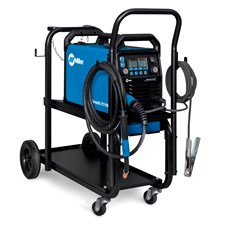
Miller Millermatic® 211 PRO MIG Welder with Running Gear & Cylinder Rack - 951000073
10 purchased
Miller Welders
Miller Millermatic® 211 PRO MIG Welder with Running Gear & Cylinder Rack - 951000073
10 purchased
 Miller Safety Equipment
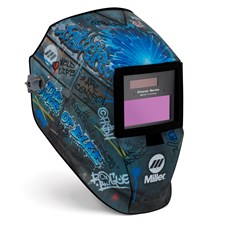
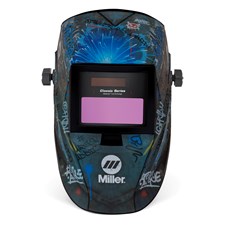
Miller Street Sparks™ Welding Helmet Replacement Shell - 299622
Miller Safety Equipment
Miller Street Sparks™ Welding Helmet Replacement Shell - 299622
 Miller Safety Equipment
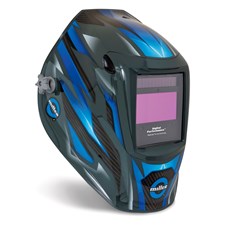
Miller Carbon Edge™ Welding Helmet Replacement Shell - 299619
Miller Safety Equipment
Miller Carbon Edge™ Welding Helmet Replacement Shell - 299619
 Miller Welders
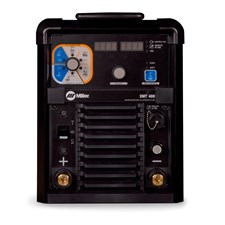
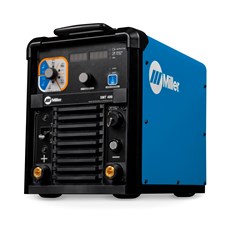
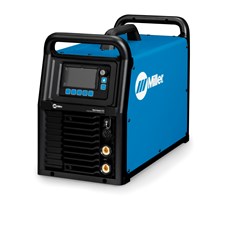
Miller XMT® 400, Tweco® Multi-Process Welder - 907881001
Miller Welders
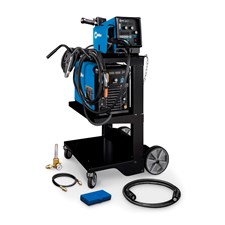
Miller XMT® 400 MIGRunner™ Multi-Process Welder - 907915
Miller Welders
Miller XMT® 400, Tweco® Multi-Process Welder - 907881001
Miller Welders
Miller XMT® 400 MIGRunner™ Multi-Process Welder - 907915
 Miller Welders
Miller XMT® 400 MIGRunner™ Multi-Process Welder with Intellx™ Basic Wire Feeder - 951971
Miller Welders
Miller XMT® 400 MIGRunner™ Multi-Process Welder with Intellx™ Basic Wire Feeder - 951971
 Miller Welders
Miller XMT® 400 MIGRunner™ Multi-Process Welder with Intellx™ Pro Wire Feeder - 951000212
Miller Welders
Miller XMT® 400 MIGRunner™ Multi-Process Welder with Intellx™ Elite Wire Feeder - 951972
Miller Welders
Miller XMT® 400 MIGRunner™ Multi-Process Welder with Intellx™ Pro Wire Feeder - 951000212
Miller Welders
Miller XMT® 400 MIGRunner™ Multi-Process Welder with Intellx™ Elite Wire Feeder - 951972
 Miller Welders
Miller Multimatic ® 215 PRO Multiprocess Welder, 120/240V, 907840
1 purchased
Miller Welders
Miller Multimatic ® 215 PRO Multiprocess Welder, 120/240V, 907840
1 purchased
 Miller Welders
Miller Multimatic ® 215 PRO Multiprocess Welder w/ Running Gear Package, 951000074
2 purchased
Miller Welders
Miller Multimatic ® 215 PRO Multiprocess Welder w/ Running Gear Package, 951000074
2 purchased
 Miller Welders
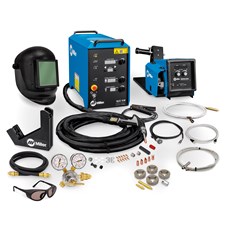
Miller Multimatic® 215 PRO Multiprocess Welder, TIG Contractor Kit Package, 951000213
Miller Welders
Miller Multimatic® 215 PRO Multiprocess Welder, TIG Contractor Kit Package, 951000213
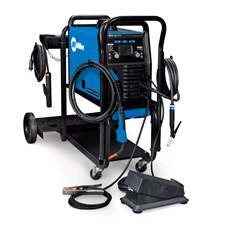
 Miller Electric
Miller Syncrowave® 212 AC/DC TIG Welder, Air Cooled Package - 907911
4 purchased
Miller Welders
Miller Syncrowave® 212 AC/DC TIG Welder, Air Cooled Package with Spool Gun - 951000200
1 purchased
Miller Electric
Miller Syncrowave® 212 AC/DC TIG Welder, Air Cooled Package - 907911
4 purchased
Miller Welders
Miller Syncrowave® 212 AC/DC TIG Welder, Air Cooled Package with Spool Gun - 951000200
1 purchased
 Miller Electric
Miller Syncrowave® 212 AC/DC TIG Welder, Water Cooled Package - 951000201
Miller Electric
Miller Syncrowave® 212 AC/DC TIG Welder, Water Cooled Package - 951000201
 Miller Electric
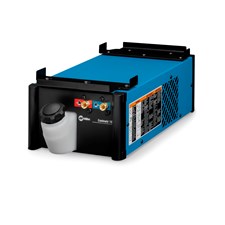
Miller Coolmate 1S 120/240V Water Coolant System - 301856 - For the Syncrowave 212 or the Multimatic…
Miller Electric
Miller Coolmate 1S 120/240V Water Coolant System - 301856 - For the Syncrowave 212 or the Multimatic…
 Miller Electric
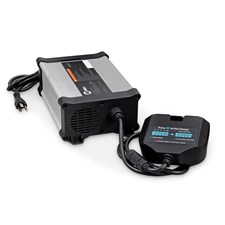
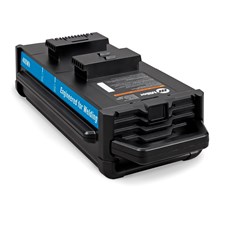
Miller Venture™150 S 400Wh Battery Pack #301756
2 purchased
Miller Electric
Miller Venture™150 S 400Wh Battery Pack #301756
2 purchased

Our more popular Miller welding equipment includes:

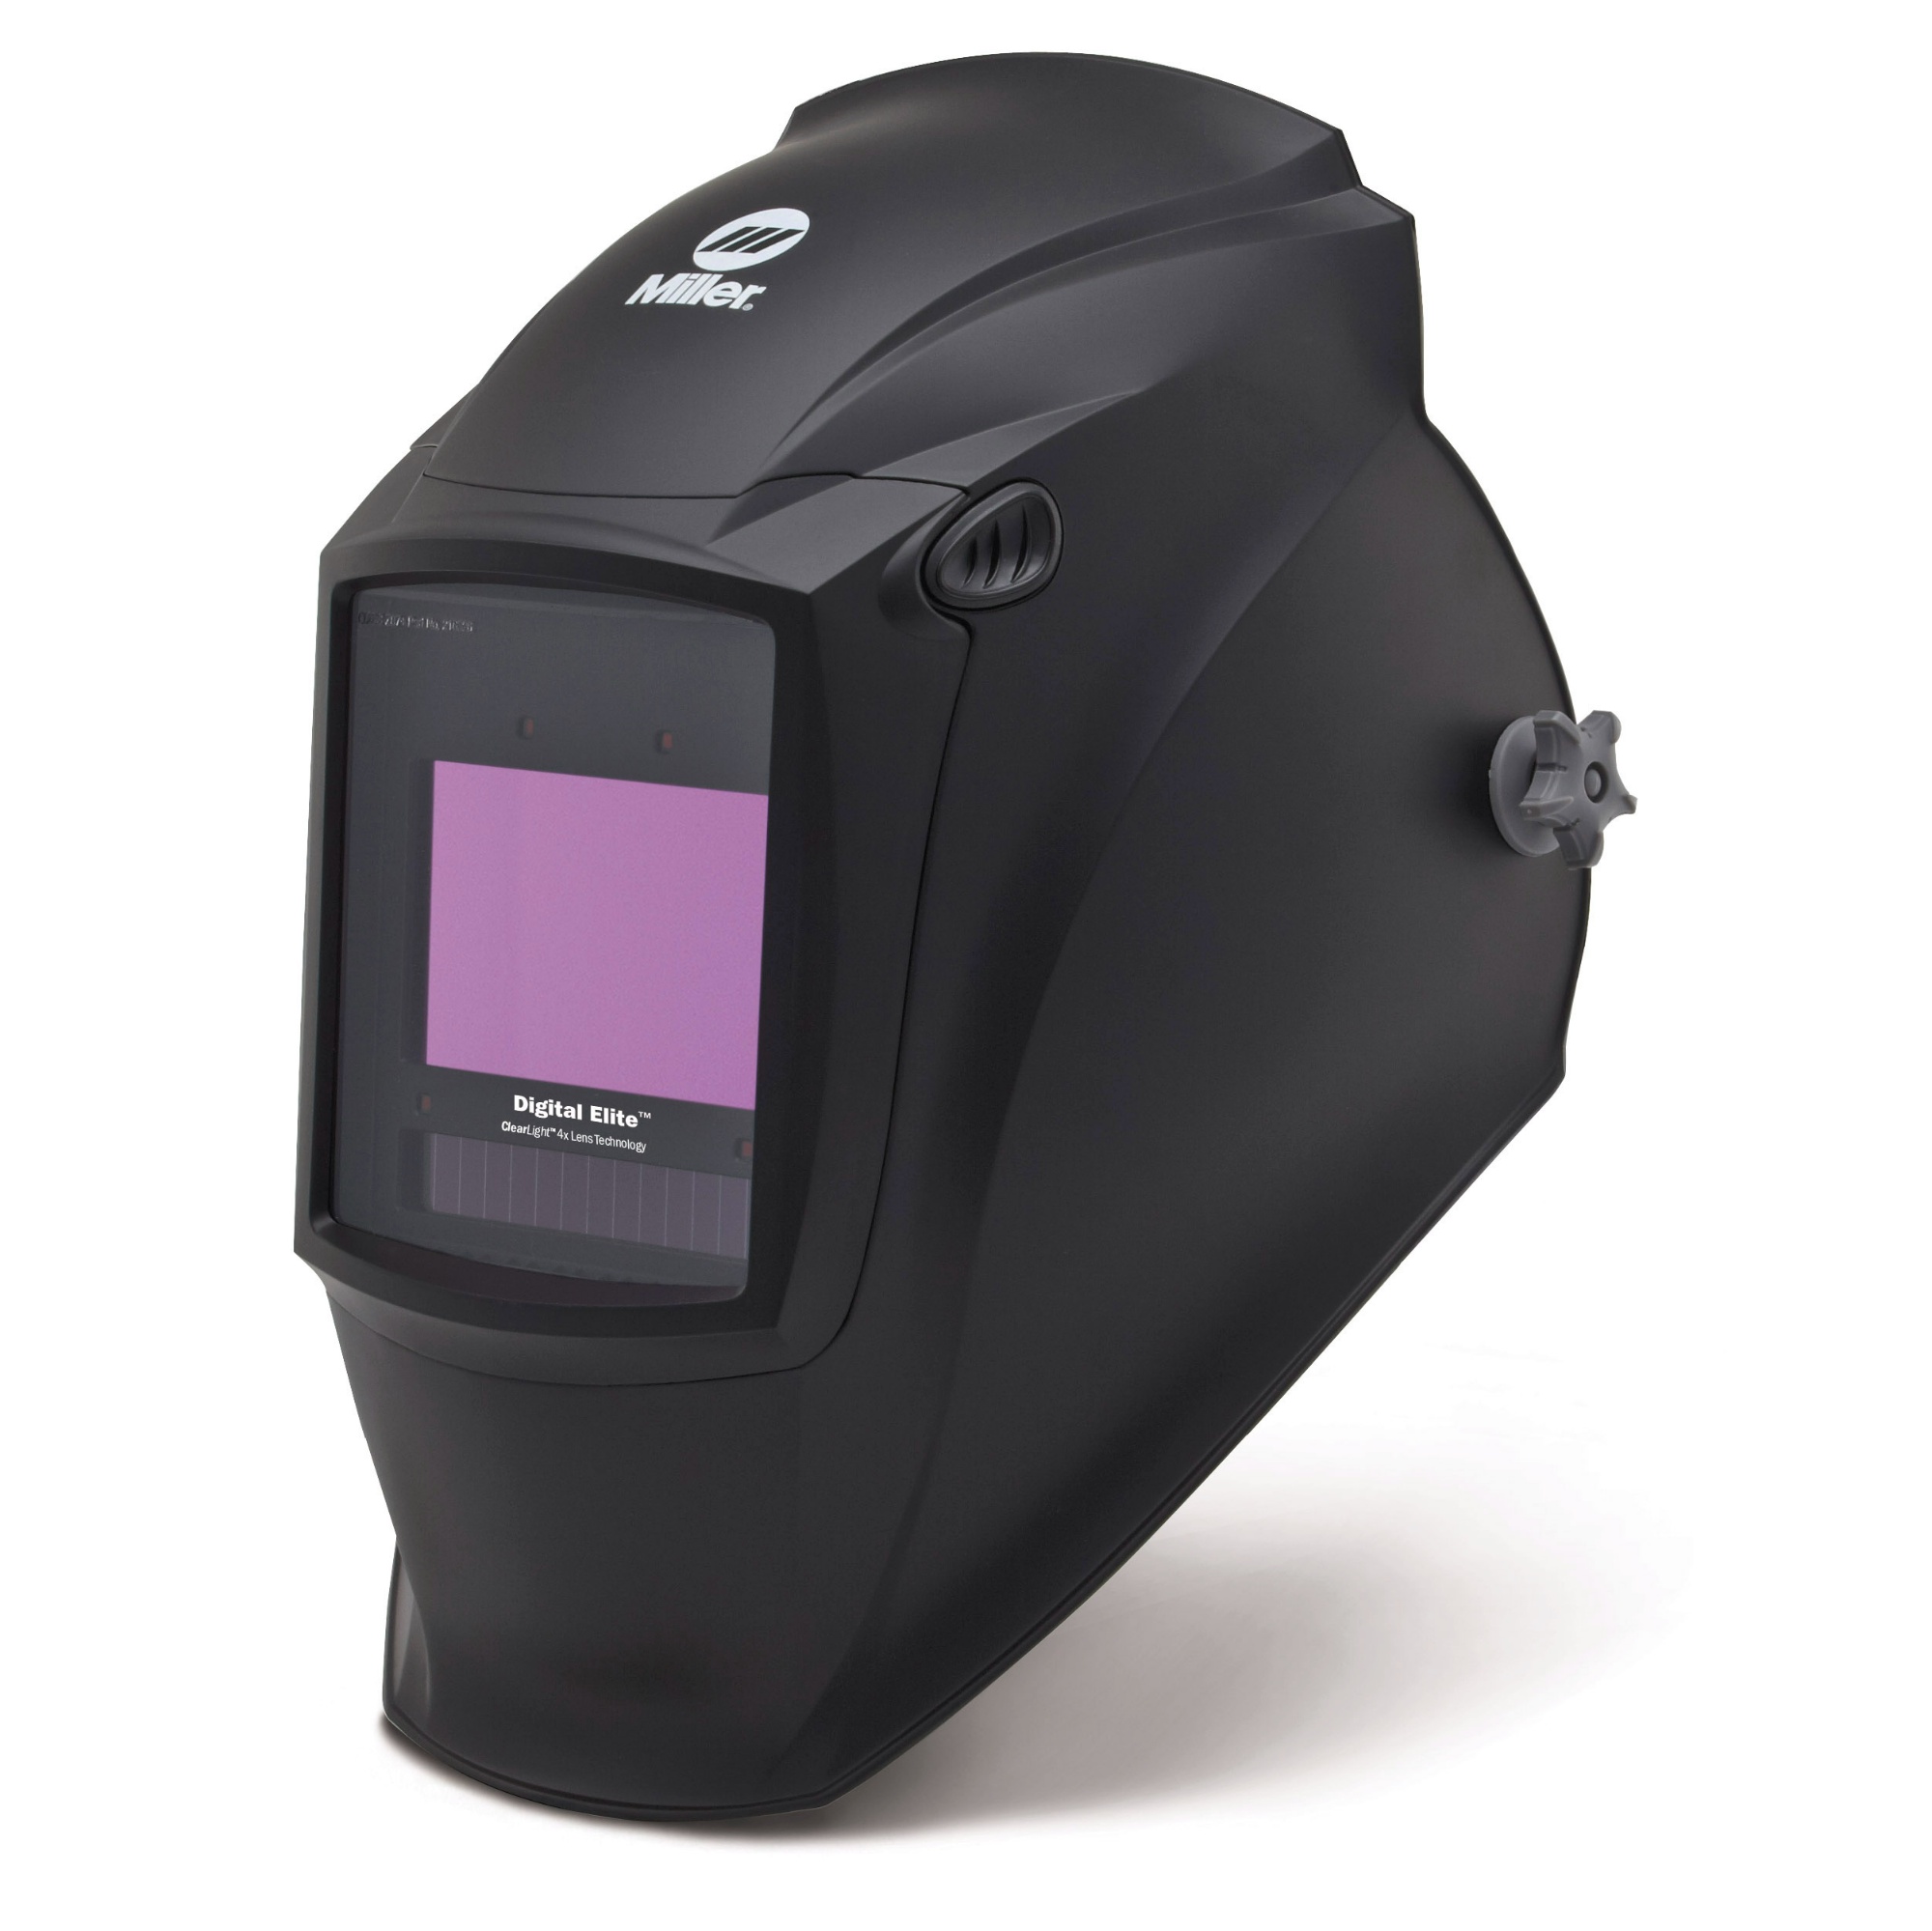
Miller Digital Elite Auto-Darkening Helmet #289755
")
Millermatic 211 Autoset Welder #907614

Miller SPECTRUM 625 X-TREME Plasma Cutter #907579001
2026 Miller Authorized Online Partner & Distributor
We are officially recognized as a 2026 Miller Authorized Online Partner. This designation is your guarantee that every welder, helmet, and accessory you purchase is 100% authentic and backed by Miller’s full True Blue® Warranty.
Beyond just authorization, we provide the technical expertise you need to get the job done. Whether you are comparing Miller welding machine prices, hunting for specific OEM parts, or upgrading your shop’s gear, our team is trained to help you navigate the full Miller catalog. We ensure you get the right machine for your project specs—not just the one that’s on sale.
Need help choosing? Contact our Miller experts for a recommendation today.

Miller MIG Welding Machines
 From its very first day, Miller Electric Manufacturing Company has provided innovative solutions to challenges confronting professional welders. The company is still doing it. Miller designs arc welding and plasma cutting equipment for manufacturing, fabrication, construction and aviation. Other markets served include motorsports, education, agriculture and marine applications.
Miller offers MIG welding equipment for both single-phase and three-phase input power. Single-Phase welding is typical in homes and garages (115 or 230 volts). Three-Phase welding systems are more common in industrial settings. Miller offers advanced Mig Systems for semi-automatic MIG applications as well as equipment for robotic automation.
Miller MIG Welders are always well-received by professional welders, especially the Millermatic 211 as well as newer products like the Millermatic 355 MIG/Pulsed Welder, Millermatic 252 (208/230 Volt) #907321 or the Millermatic 252 208/230 Volt Wire Welder.
Miller TIG Welding Machines
Miller TIG welders are extremely affordable, but it’s not the whole story. They are also easy to set up, simple to operate, compactly designed, energy-efficient and offer great control of the arc and puddle. Three of Miller’s Tig Welders will cut all metals including aluminum: the Diversion Series, Dynasty Series and Syncrowave. The fourth -- MaxStar -- is for steel or stainless steel alloys. It is DC-only.
Miller products are always top sellers at Welders Supply, especially the Miller Diversion 180 AC/DC TIG Welding Package Part. The Miller Dynasty 400 Wireless Foot Control Package is especially popular. These are affordable, practical and high-performing products built for years of excellent service. They are easy to transport and will do whatever you want.
Miller Stick Welding Machines
 There are eleven different units offered by Miller, ranging in capabilities from light industrial, industrial to heavy industrial. Miller offers models many applications including education, maintenance & repair, farm and fabrication. Larger units are designed for heavy-duty applications with pipe, steel erection, shipbuilding and foundries.
Miller single phase stick welders include the Maxstar 161 S and Dialarc® 250 AC/DC. Single and three phase units are the CST™ 280 and the Miller® XMT® 350 CC/CV MIGRunner® w/ Wire Feeder. Miller’s three-phase units are the Gold Star® 652, the Dimension™ Series and the PipePro™ 450 RFC.
Miller Spot Welders
Miller is a world-class manufacturer of spot welders, offering a complete array of both symmetrical and asymmetrical tongs and tips. You get the most from spot welders with the shortest tongs. Miller tips are durable Class 2 copper alloy. Five tips are offered: two standard tong designs along with a standard tip, flat tip and offset tip.
Four different air-cooled spot welders are available. Miller’s excellent selection includes the MSW-4, MSW-41T, LMSW-52 and the LMSW-52T. These units are flexible, fast and easy. The hand lever locks tongs firmly so there is always a positive, accurate fit-up. A wide variety of tongs and tips can be accommodated. You can quickly and easily adjust for material thickness. Miller units are simple to reconfigure for either left- or right-hand operation.
Miller Welders/Generators
Miller manufactures over twenty different welder/generators to prepare you for anything. Now you can have a welder to repair your welder! Miller Welder/Generators are always hot sellers because they are perfect for field equipment repairs, farm/ranch work, construction sites, power work in your garage or just to keep home essentials running during a blackout. Popular products at Welders Supply include the Miller Bobcat™ 265 w/ Remote Start/Stop, Miller Big Blue 800 Dup Pro Welder/Generator w/ ArcReach 907751, Miller Bobcat 250 with AC/DC Engine Drive Welder with EFI (Part #907502) and the Miller Trailblazer 275 (Part #907506001).
These are powerful, durable generators which are extremely well-built. Each has a three-year manufacturer’s warranty. The engines are very fuel-efficient and have a huge12-gallon tank to assure longer run time.
NEW Bobcat & Trailblazer Welders!
Miller recently released their brand new Bobcat and Trailblazer machines. Check out the latest and greatest here:
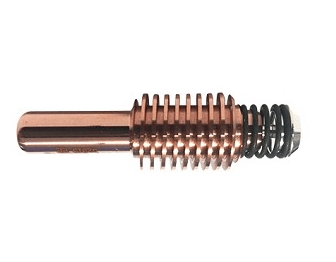
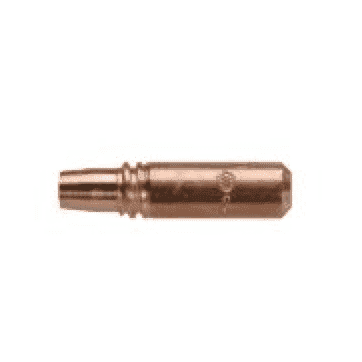
Miller Guns & Torches
Miller Guns & Torches are well-designed and superbly manufactured to fit Miller, Millermatic and many other leading brands of welding equipment.
Wire Welding guns include Miller MIG Guns, Bernard MIG Guns, Flux-Cored Guns and the Bernard™ Fume Extraction Gun. Other wire welding guns are Spool Guns, Push-Pull Guns and Submerged Arc Torches. The Miller Weldcraft Torch is for Tig welding. Metal cutting torches from Miller are Plasma Cutting Torches and Oxy-Fuel Torches.
At Welders Supply, some very popular Miller Mig guns are the Roughneck® C-Series . These industrial-grade guns are compatible with all Millermatics and current Miller wire feeders. You can also use them with most other major brands. The Migmatic™ M-Series welding guns are ideal for Miller integrated MIG packages as well as other Miller wire feeders.
These guns & torches keep you operating at top efficiency. You’ll get the best high performance and the best low prices at Welders Supply.
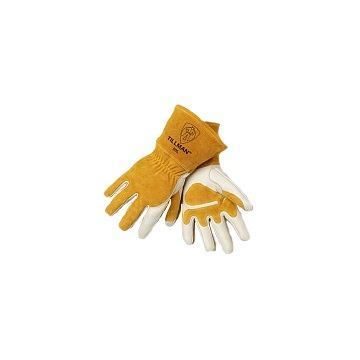
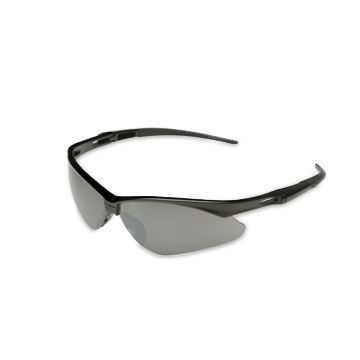
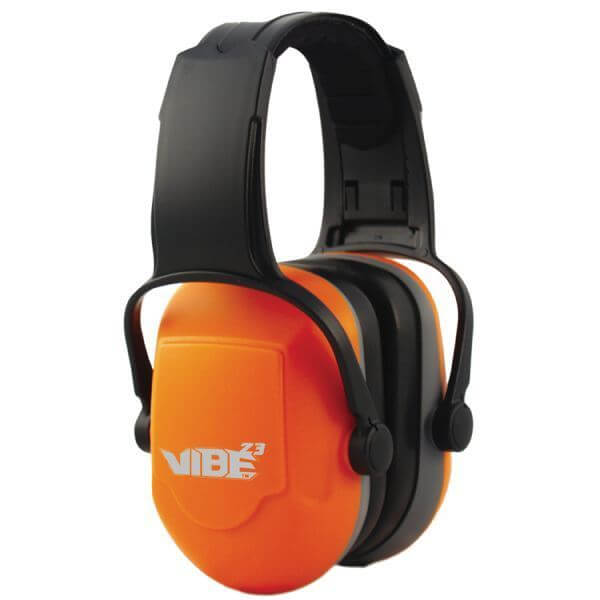
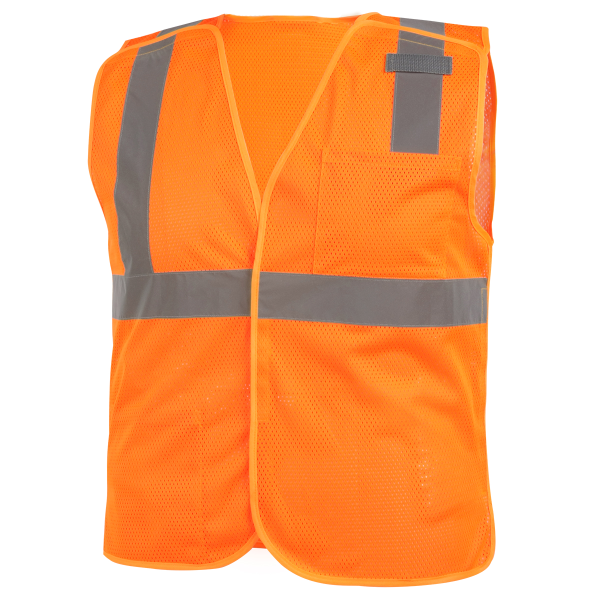
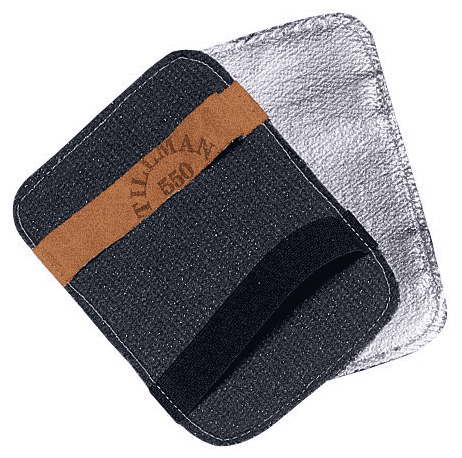
Miller Helmets & Welding Protection
 Miller protective helmets, safety glasses and protective welding apparel give all-day protection and all-day comfort. Ergonomic, lightweight design keeps you fresh even during long welding periods. Field of vision is always wide and clear. You’ll stay safer and breathe easier.
Auto-darkening lenses are available for added protection and convenience. Safety glasses come with lenses which are clear, smoked, shade 3.0 or shade 5.0.
Miller protective apparel has earned an outstanding worldwide reputation for excellent protection, comfort and attractiveness. A full range of effective, affordable protective apparel is offered. They are easy to adjust for a perfect fit. You’ll wear them with comfort, style and performance. Enhanced safety will always make your work environment more productive.
Safety is always a sound investment. The low online prices at Welders Supply make safety much more affordable.
Miller Workstations
The ArcStation has been expertly designed with the welder in mind. It is the first workstation specifically manufactured to meet the needs of professional welders looking for welding workbenches and welding tables.
A full line of accessories is available which are easy to install and remove, easy to use and simple to store. An especially hot seller at Welders Supply is the Miller Protective Cover #300919. It's a great way to keep your machine clean while in storage or transit.
You can buy the specific accessories for your ArcStation to set up your best customized worksite. The ArcStation will give you the best for your welding and the most for your money. At Welders Supply, you get the lowest online prices for products you need - like welding table clamps!
Lowest Prices and Free Shipping on Orders Over $300
Besides the lowest possible prices on Miller products, Welders Supply offers free shipping within the continental US on all orders totaling over $300. Ready, set, shop!