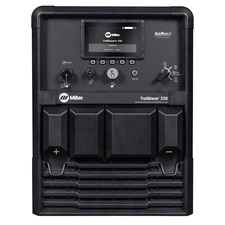
Fingertip Control Included
 Stick Welding
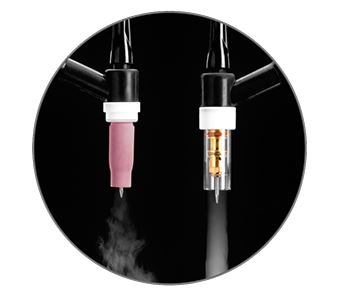
 TIG Welding
 120–240 V, 1-PH
 Weights Only 13 lbs
 3 Year Warranty
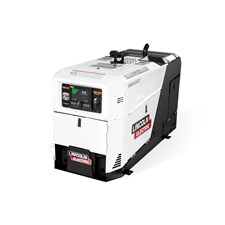
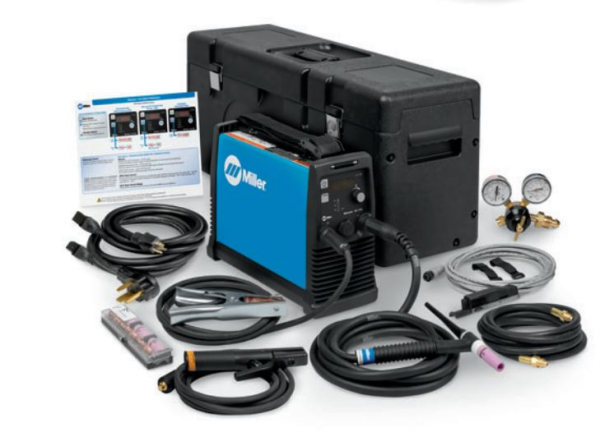
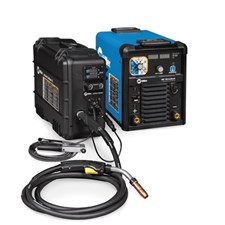
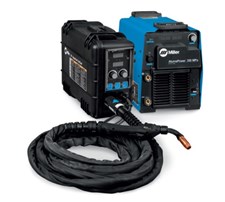
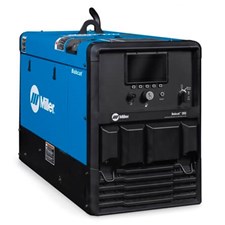
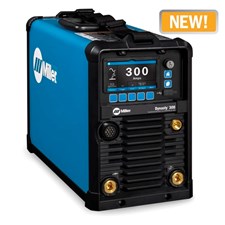
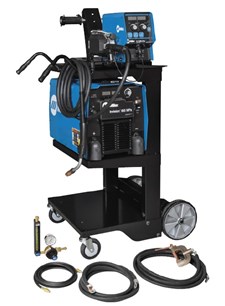
Miller Maxstar® 161 STL 120-240 V, X-Case, Fingertip Contractor Package w/ Remote #907710002
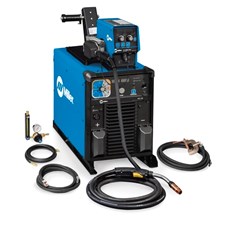
Commercial Welding Components and MIG Welders for Contractors
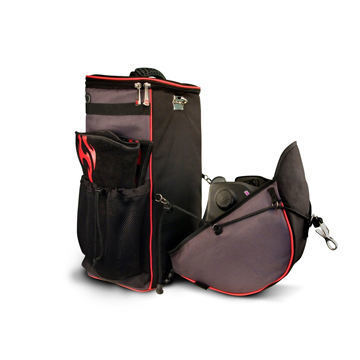
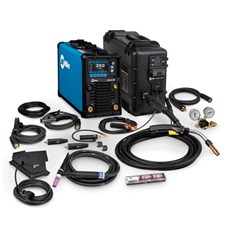
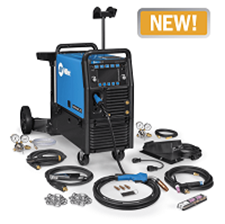
This Maxstar contractor package comes with all the necessary parts and welding components for any serious welder. Complete with the protective Miller X-Case, this TIG/Stick package combines Maxstar’s reputation for exceptional performance and dependability all in one package. The X-Case contractor package includes:
- Maxstar 150 STH
- 10 ft. (3m) primary cord with MVP plugs for 120 V and 240 V
- 12 ft. (3.8m) stick electrode holder
- 10 ft. (3m) work cable with clamp
- Adjustable shoulder strap
- RCCS-6M remote fingertip control
- 12 ft. (3.8 m) Weldcraft A-150 TIG torch
- Regulator/flow gauge and gas hose
- AK2C accessory kit
- Protective Miller X-Case
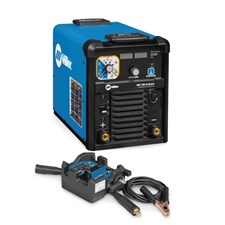
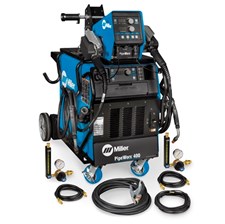
Our Maxstar welding packages are perfect for both professional contractors and backyard welders alike. We promise to carry the only highest quality welding supplies, and our full line of Maxstar TIG welding packages are at unbelievable prices.
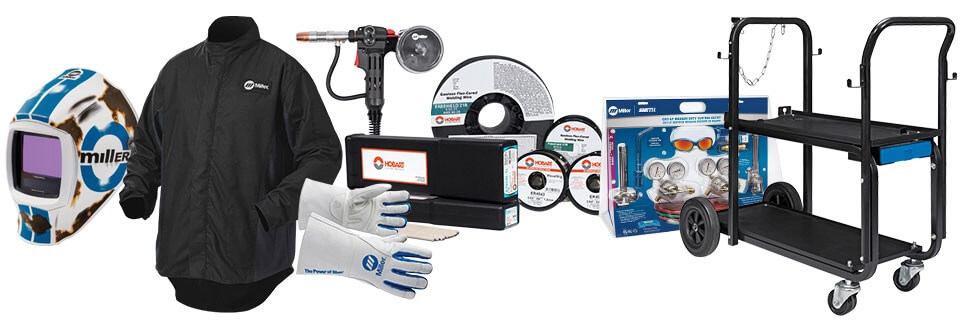
TIG Welding Kits and Other Welding Supplies
The Maxstar 150 features a built in solenoid which effectively eliminates the need for a bulky, cumbersome, and overall annoying gas valve. In addition, Pulsar technology allows you to reduce the amount of heat being used, and this can be extremely useful on thin metals that are prone to warpage. One of the key features of this package is that the MVP plug lets the welder to tap into both 120 or 240 volt, standard power receptacles. This eliminates the need for any special converting tools and accessories, saving you valuable time and frustration.
Other Versions:
- 907710 - Maxstar 161 STL 120-240 V
- 907710001 - Maxstar 161 STL 120-240 V, X-Case Contractor Package
Rebate Redemption
How To Submit Your Build with Blue™ Rebate Request
- Purchase a qualifying product.
- Get an electronic copy of your invoice or receipt showing the purchase of at least one of the eligible products shown below.
- Locate the serial number of each product.
- For the Additional Products rebate, circle each additional item and price paid on your invoice or receipt.
- Submit your rebate request.

30-Day Submission Deadline
Rebate claims must be submitted within 30 days of purchase date.
Submit or track rebate


 (w/Electric Fuel Pump) #K2382-5")


 #K2937-1")


 #K3459-1")